How to create a new Airfoil by tracing a picture
How to create a new Airfoil by tracing a picture
This feature requires the following Airfoil Cad Toolbar buttons.
If you do not have these they can be manually added.
Please see instructions on how to do this in the How to add Buttons to a Toolbar topic.
1. Open the Airfoil List Screen
2. Click on the Airfoil Tab
3. Click on the New button
4. Select Add Manually option
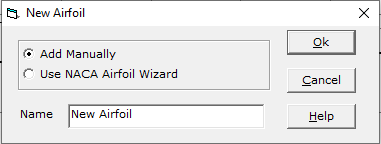
5. Enter a new Airfoil name
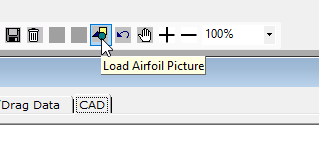
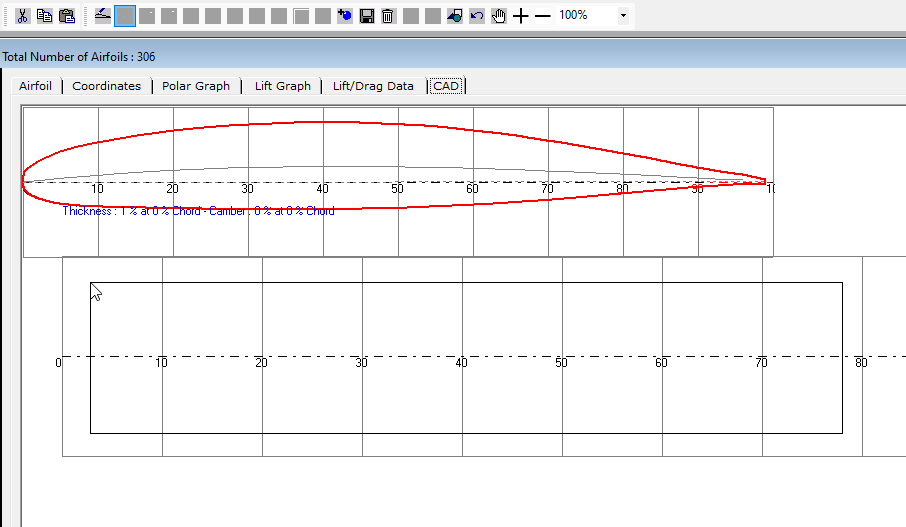
6. Click on the Cad Tab
7. Click on the Load Airfoil Picture button
8. Select an airfoil picture
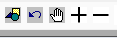
9. Click on the Move Airfoil Picture tool bar button
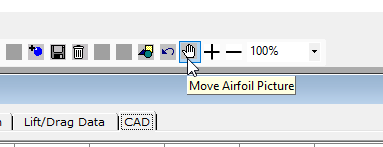
10. Move the mouse over the CAD pane. A rectangle will be drawn which has the dimensions of the airfoil picture.
Once satisfied on the position, press the left mouse button.
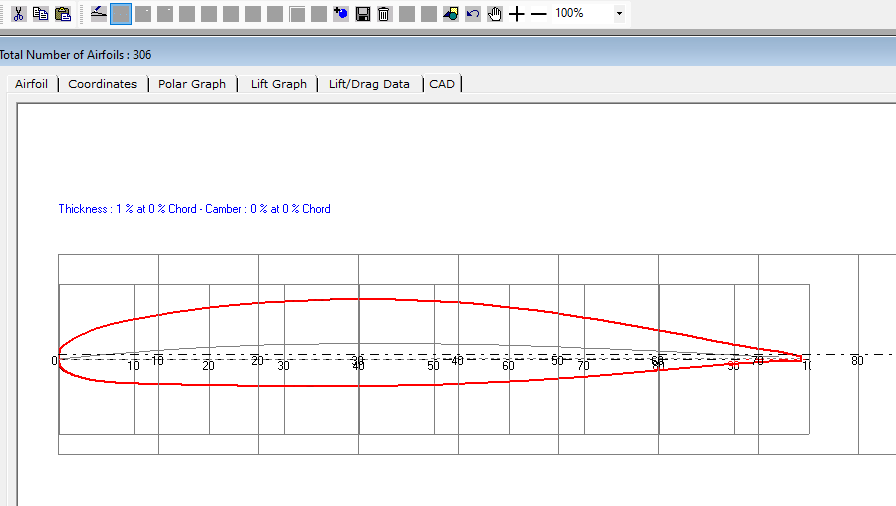
11. Click on the Zoom In Airfoil Picture toolbar button a numbe of times to increase the size of the airfoil picture.
After doing this you may need to move the picture again to line up with the airfoil grid. If so then repeat step 9 above.
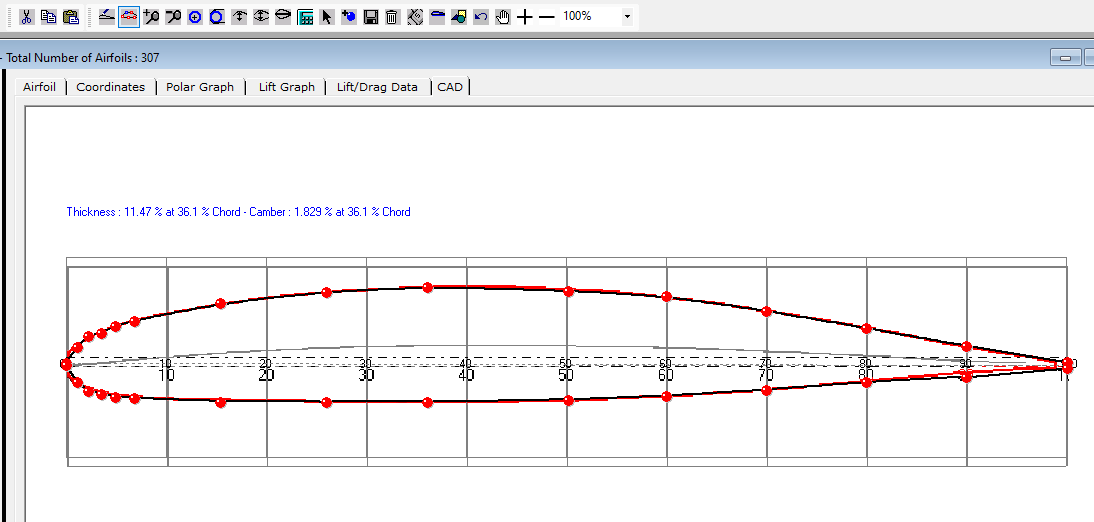
12. Click on the Add Points button to start adding airfoil coordinate points.

13. Add points in pairs by clicking on the Cad pane.
Add more points nearest to the leading edge to improve the curvature of the airfoil.
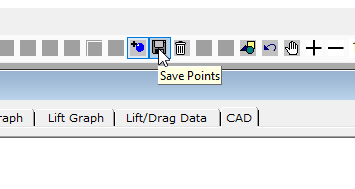
14. Once all points are added click on the Save Points toolbar button.
15. To clear the background picture click on the Clear Airfoil Picture toolbar button.
![]()
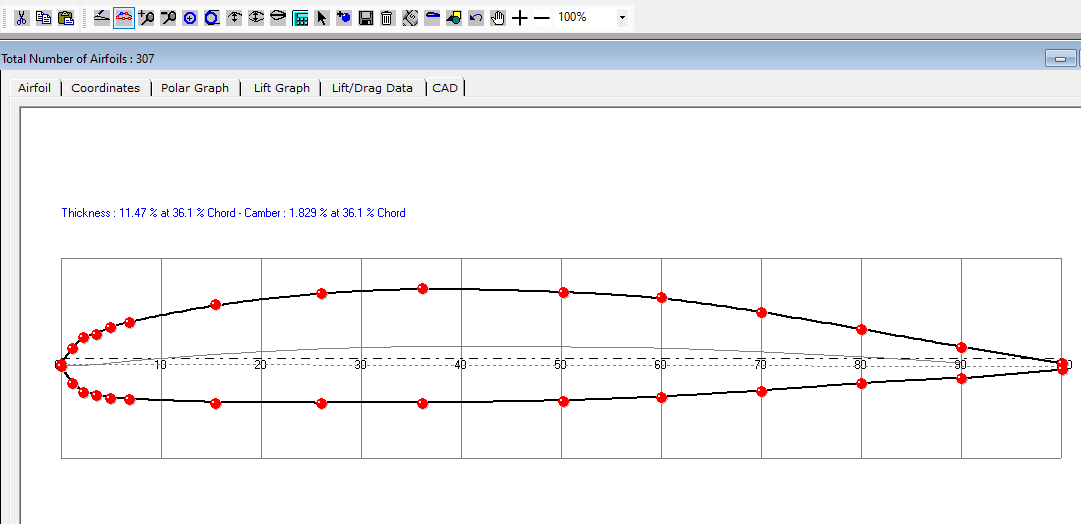
Final Airfoil